Reconstructing 3D model from images: a novice experience
Reconstructing a 3D model from 2D images is a very hard task. It requires one to know a lot of algorithms, 3D knowledge, and matrix computations to code a project from scratch. Luckily, with available open-source projects, we can lay down the burdens of coding. However, using these open sources is not really easy as it seems. Let’s follow our story when we first-time experience building a 3D model by the open sources. Note that this is our first time with a 3D reconstruction and we have not studied the full knowledge of this before.
There are a lot of open-source projects, as far as we know, most of them use C++, and only one repo using Python that is openSfM [2]. As Python project is often easier to build, install and use; we decide to try using this repo first. Because we have been quite familiar with Python, this repo is really a prospective choice for us. However, bad things often come after good things… To see the reason, keep reading our experiment story with openSfM.
Now, we will show what we want to have. We want to have this, a perfect 3D model that looks like in reality.
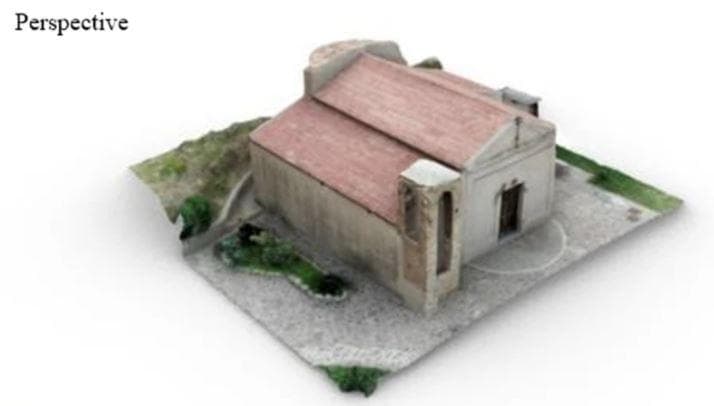
Figure 1: The 3D model of a house (Image reproduced from paper [1]).
Inherently interested in having fun with new challenging projects. we start with a hard object (not really hard) to reconstruct a 3D model - a pile of books. After running about one day, we get a “3D reconstructed model” (at least it was a reconstructed model as we think). The model did not vividly appear until we increase the point size. So to speak, there were a lot of points which constructed into the shape of the book pile. Nonetheless, these points are far from each other and they somewhat did not appear as surfaces of the object, there are just a lot of points. Our first assumption is that the reason is lack of data, we thought that: “When there are more input images, there will be more points close to each other which leads to surfaces ”. Because of that, we capture more images of the book pile and reconstruct it again. Do you know what happens? The new reconstructed 3D model still had a lot of points and we barely saw any surfaces, just a dull-looking of object shape.
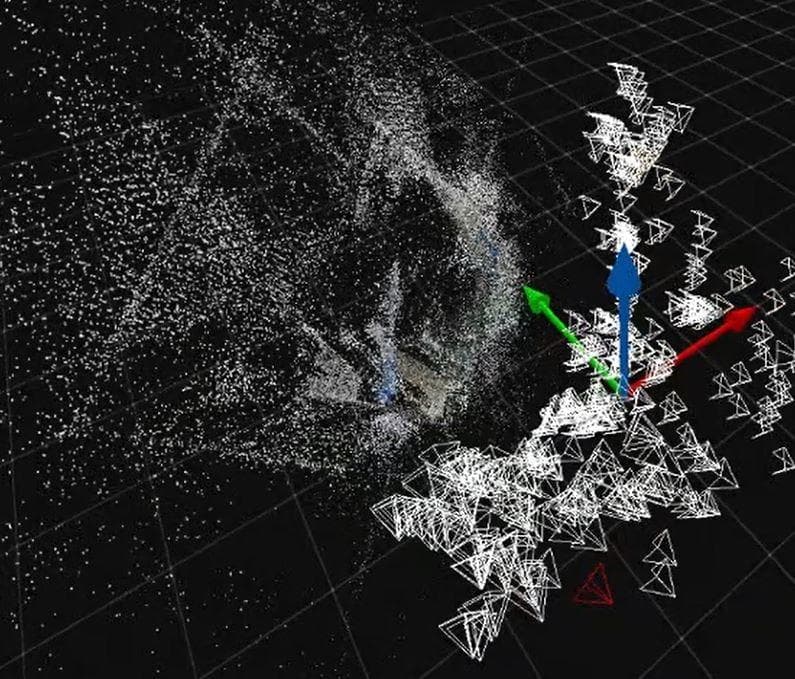
Figure 2: Our "reconstructed 3D model" of a bookpile, with a pen on it. On the right are the camera poses and coordinate system. (We use the visualization tool of OpenSfM [2])
Then, we guess maybe the book pile is too complicated, so we recorded a simpler object that is a mug. Although the mug has fewer details, the problem is the same.
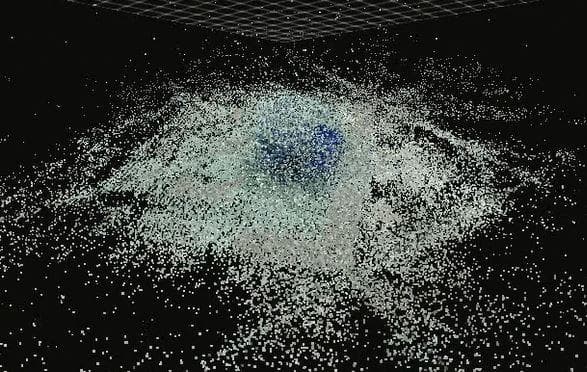
Figure 3: Our "reconstructed 3D model" of a mug. (We use the visualization tool of OpenSfM [2])
One thing to note is that the openSfM is very slow. Hence, at that time we thought we need to change to another repo with the hope that it would be faster and of course, could create surfaces.
We changed to openMVG [3]. The openMVG is built on C++, so hopefully, it could be faster. This open-source gives us two options to reconstruct a 3D model: sequential reconstruction and global reconstruction. For sequential reconstruction, we have to choose the first pair of images for matching. This is an uncomfortable step because it requires us to manually choose the pair. And you know, not all pairs works, if two images are not different in some ways required by the underlying theory then the matching step cannot start. However, in global reconstruction, we can forget about the grief... For more information, you can read the two papers: [7] and [8].
And guess what, the reconstructed 3D model behaved in the same way as those created by openSfM. There are just points and points. At that time, we realized that there must be something wrong; otherwise, both the results would not have been in similar looks.
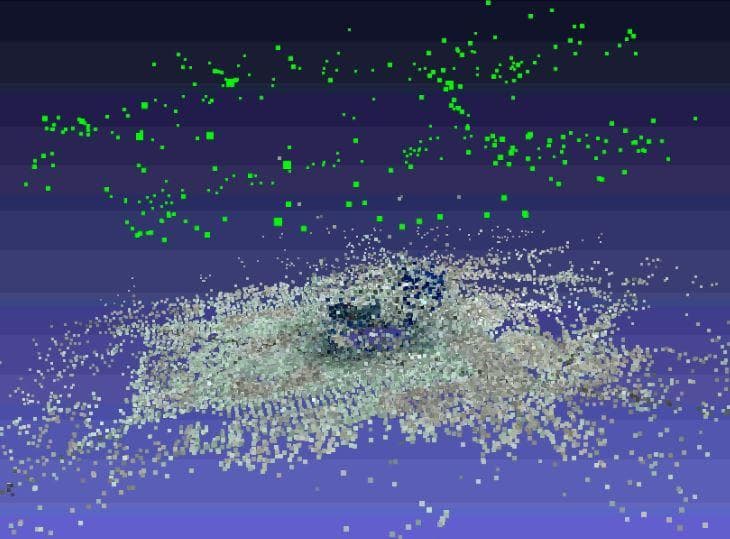
Figure 4: The sparse point cloud of the mug. (We use MeshLab [5] for visualization)
Next, we tried to search the Internet and read all the things about this problem as much as possible until the light shed at the end when being through the openMVG document. We “accidentally” click the link named “MVS: Multiple View Stereovision” and see the solution. That seemed we just simply had not completed all the required stages. Structure from motion, not as we think, only creates the sparse point cloud of an object but the collection of meshes is the actual thing constructing the 3D surfaces. For more information, a mesh is created by a collection of points, usually 3 points to create a triangle and many triangles like this will create a surface, many of which then finally together turn into a reconstructed 3D model.
From now on, the work went more easily. We built the openMVS [4] and started to use it.
First, from the sparse point cloud acquired from the structure-from-motion stage, we need to densify the point cloud.
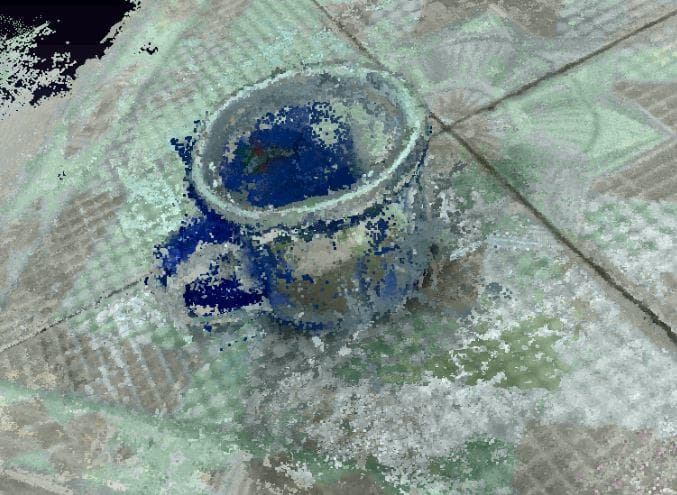
Figure 5: The dense point cloud of the mug. (We use MeshLab [5] for visualization)
Next, the dense point cloud is used to reconstruct the mesh.
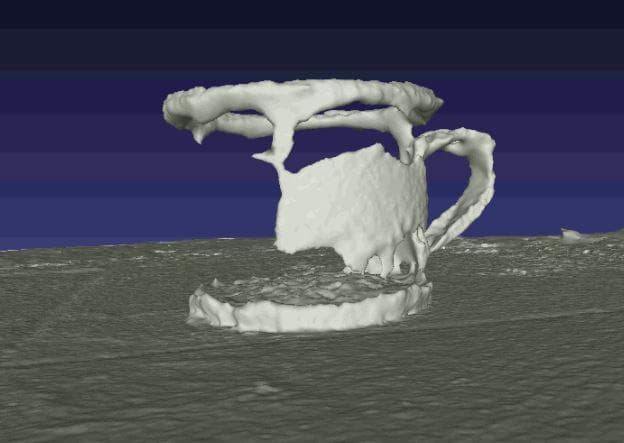
Figure 6: The reconstructed mesh of the mug. (We use MeshLab [5] for visualization)
The mesh has only one color and to paint the pattern and color of the real object on it, we need to texture on the mesh.
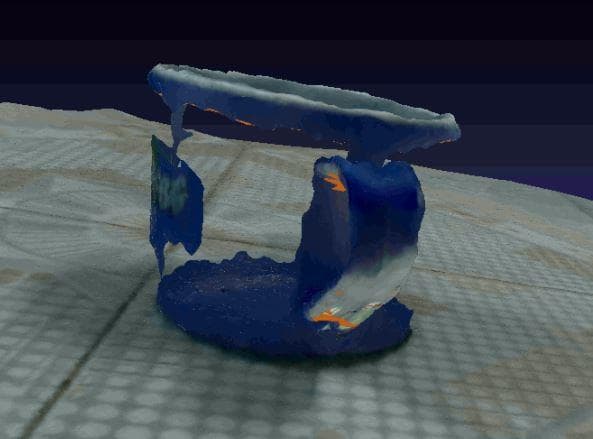
Figure 7: The texture mesh of the mug. (We use MeshLab [5] for visualization)
But wait, that isn’t a mug. A real mug for us to drink cannot have holes like that. Just for fun, but theoretically, this problem is related to a characteristic of SIFT (Scale-Invariant Feature Transform) [6]. The ability of SIFT is to detect feature points which are called blobs. And a blob can only be detected if there are some changes in color, intensity, or texture at its region on the considered image. For the details about SIFT, you can read the paper [6]. In the case of the mug, we can see that for the border parts and the text parts, they are well reconstructed. In contrast, the plain parts of blue color cannot be reconstructed as SIFT cannot detect feature points at these regions so it leads to holes like in the figure above. We capture images of another object that has more patterns on it - a snack can, and this is the appealing reconstructed 3D model of it.
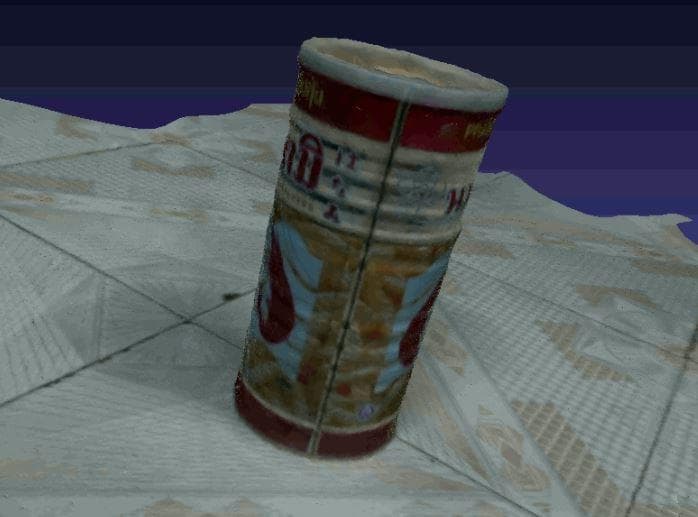
Figure 8: The final 3D reconstructed model of the snack can. (We use MeshLab [5] for visualization)
That’s it. That is our experience of reconstructing a 3D model from images. Although just using open sources, we have already dealt with a bunch of problems. If diving into the details, there will actually be more problems than that. All in all, this experience really gives us a memorable time anyway.
References
[1] Barrile, Vincenzo, and Antonino Fotia. "A proposal of a 3D segmentation tool for HBIM management." Applied Geomatics (2021): 1-13.
[2] Pau Gargallo et al., OpenSfM, Facebook Open Source.
[3] Pierre Moulon and Pascal Monasse and Romuald Perrot and Renaud Marlet, Openmvg: Open multiple view geometry, 60--74, Springer, 2016.
[4] Dan Cernea, OpenMVS: Multi-View Stereo Reconstruction Library, OpenMVS homepage, 2020.
[5] P. Cignoni, M. Callieri, M. Corsini, M. Dellepiane, F. Ganovelli, G. Ranzuglia, MeshLab: an Open-Source Mesh Processing Tool, Sixth Eurographics Italian Chapter Conference, 2008.
[6] David G. Lowe, "Distinctive image features from scale-invariant keypoints." International journal of computer vision 60.2 (2004): 91-110.
[7] Adaptive structure from motion with a contrario model estimation. Pierre Moulon, Pascal Monasse, and Renaud Marlet. In ACCV, 2012.
[8] Global Fusion of Relative Motions for Robust, Accurate and Scalable Structure from Motion. Pierre Moulon, Pascal Monasse and Renaud Marlet. In ICCV, 2013.